Planning for a bathroom renovation project can feel overwhelming with so many steps involved. But having the right bathroom renovation checklist guides you through the process seamlessly from start to finish. Follow this comprehensive checklist covering everything from developing your budget to enjoying the final reveal of your brand new bathroom.
Research Phase: Key Prep Work Before Remodeling
Before diving into the design details, you first need to complete some key preparatory tasks to set your project up for success. Rushing into demolition without crossing these items off your list often leads to delays, budget issues, and frustration down the road:
Assemble your remodeling budget
Have a clear understanding of your budget upfront to guide decision making. Factor in costs for materials, labor, permits etc. Be sure to include a 10-20% contingency fund for unforeseen expenses. In Irvine, higher-end bathroom remodels cost $25,000 to $50,000 on average.
Research design ideas and create an inspiration board
Spend time looking at bathroom photos online and in magazines to find styles you love. Compile images, color schemes, textures etc on a digital inspiration board to establish an aesthetic direction.
Interview and hire the right remodeling contractor
Securing an experienced, professional contractor is crucial. Thoroughly vet candidates and check references to find someone reliable who can execute your vision.
Determine timeline/schedule and sign contract
Outline a detailed schedule covering every phase along with estimated durations. Sign a contract clearly defining scope of work, timelines, contingencies etc.
The research phase lays the foundation to successfully orchestrate every subsequent step. Resist any temptation to cut corners here – outstanding preparation truly pays off down the road!
Planning Your Bathroom Layout
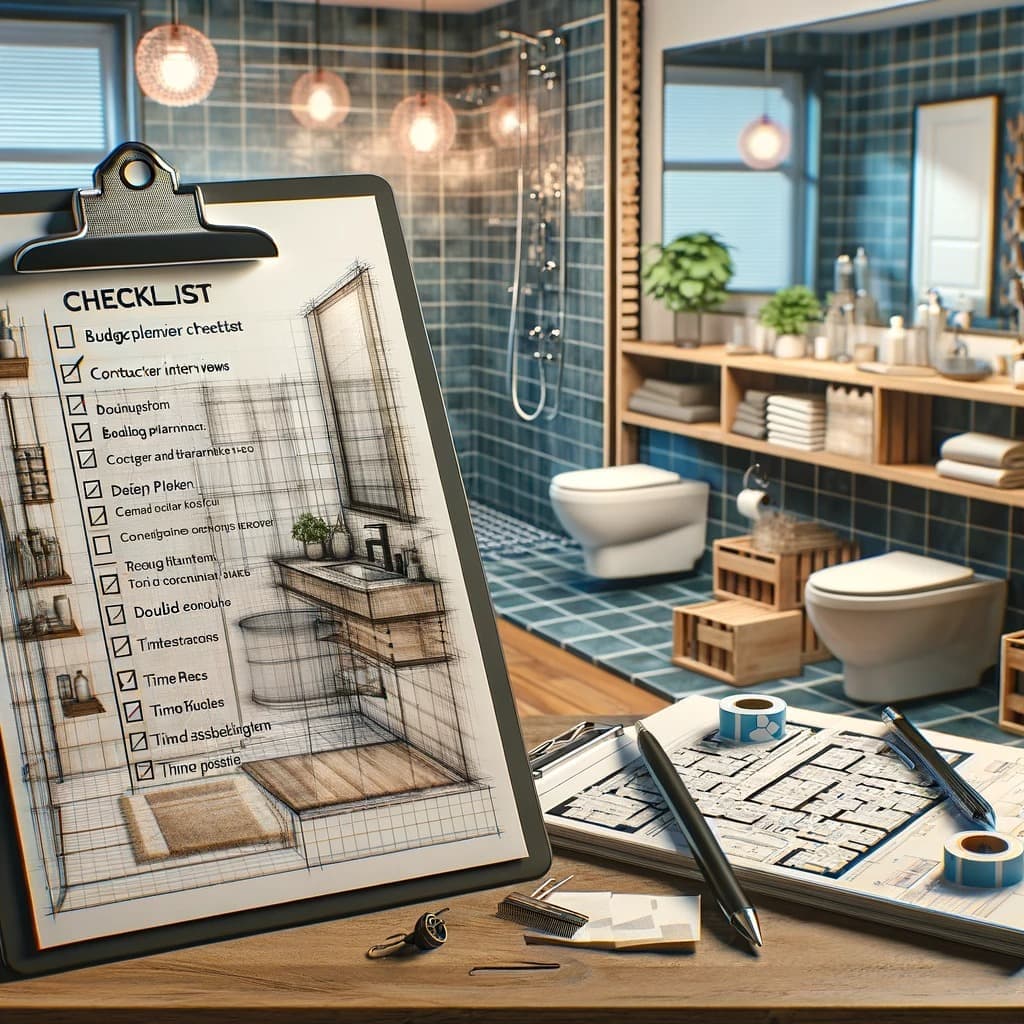
Before finalizing your design, you need to carefully think through how you want to configure your bathroom space. Precisely mapping out locations for key elements allows you to optimize flow and functionality. Key steps include:
Measure your bathroom space precisely
Use a laser measure or tape to capture accurate room dimensions including ceiling height. This allows you to create a detailed floor plan for fixtures.
Explore layout options
Consider your needs and preferred features. Do you want an open shower or enclosed stall? Soaking tub or just shower? Single or double vanity? This informs placement.
Choose locations for fixtures/utilities
Strategically determine locations for your toilet, sink(s), bathtub and/or shower based on size, plumbing lines, usage patterns and visual appeal.
Decide on special features
Will you include amenities like heated tile floors, built-in niches, towel warmers or water fixtures? Add these to your floor plan.
It’s smart to have your design professional create a 3D rendering from your floor plan to bring your new bathroom layout to life visually. This allows you to refine locations for optimal ergonomics and convenience. Pay close attention here – altering layouts mid-project adds delays and costs.
Design and Material Selection
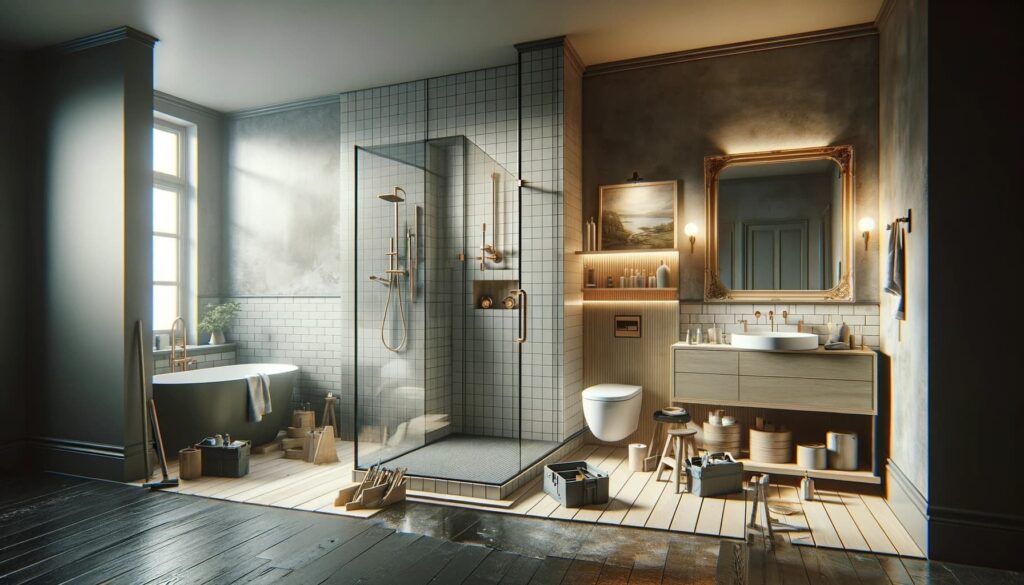
With your layout locked in, it’s time to refine the aesthetic details. Design and décor decisions require careful consideration as swapping materials mid-project can throw budgets and timelines off track:
Choose an overall design aesthetic
Are you leaning modern, traditional, minimalist, or coastal chic? Your contractor can adjust finish recommendations to align with the look you love.
Select cabinetry style and finish
Slimline framed? Full inset? Painted, stained or thermofoil fronts? Door style impacts visual appeal and pricing.
Pick countertops, backsplash tile, flooring etc
Quartz, granite or concrete counters? Subway tile or natural stone mosaic backsplash? Porcelain, tile, or vinyl plank flooring? Coordinate these elements.
Choose lighting fixtures, hardware, and accessories
Wall sconces, pendants, or LED task lighting? Widespread or centerset faucets? Drawer pulls or recessed handles? Source coordinating pieces.
Order special items to avoid delays
Custom vanities, decorative tile, or special plumbing fixtures often involve extended lead times. Order these ASAP.
With finishes pinned down, your pro can finalize required materials and place orders to prevent slow downs. Sticking to your design decisions avoids the domino effect mid-project changes can cause to budgets and timelines down the road.
Permits, Demolition, and Installation
With your design fully approved, the real transformation process kicks off:
Contractor obtains any required permits
Your pro will navigate securing proper permits from local building departments. Typical bathroom remodels require plumbing, electrical and building permits depending on scope of work.
Gutting: Walls, flooring, plumbing and electrical removed
Your contractor strips the bathroom back to the studsremoving all existing finishes, fixtures, plumbing and electrical components.
Plumbing and electrical rough-ins installed per plan
With the blank slate ready, rough-in work for supply lines, drain piping, venting and circuits are completed per the design blueprint.
Inspect rough-in work before moving forward
Local building inspectors review plumbing and electrical infrastructure at key checkpoints before insulation and walls are rebuilt. Verify all meets code.
Once plumbing and electrical layouts are signed off by inspectors, waterproofing and framing follows to enclose the space. Leaving access points for connections behind walls avoids unnecessary demolition down the road.
Tile, Cabinets, Countertops, and Fixtures
With the underlying framework inspected and secured, the fun part begins – seeing your design spring to life:
Tile flooring, walls, and backsplash installed
Tile sets the tone with high visual impact. Your contractor meticulously lays out floor tile in the shower and throughout. Wall tile and backsplash follow, requiring careful planning to result in seamless designs.
Cabinets and vanities installed
Custom or stock cabinetry is professionally secured in place, ensuring alignments and support meet standards. Integrated lighting, charging ports or other specialty features are added now.
Countertops fabricated and installed
Your contractor templated earlier to submit measurements to fabricators. Your slabs are cut, polished, edged and sealed before being permanently adhered.
Install sinks, faucets, toilets, tubs etc.
With cabinetry and counters in place, it’s time to mount your beautiful new plumbing fixtures, accessories and appliances. The space comes to life!
Install lighting fixtures, outlets, and accessories
Lighting, switches, GFCI outlets and any electronics like speakers or heated floor controls are finalized. Bath hardware, towel bars and decorative items mount next.
Your vision evolves from an idea to reality in this exciting phase! Be sure to stop by for frequent walk throughs to monitor progress and provide feedback.
Finishing Touches
With all of the major components in place, the final details bring everything together seamlessly:
- Caulk along counter edges, tile joints etc. – Your pro applies flexible, waterproof caulk anywhere materials meet to prevent moisture intrusion. This gives the space a polished, complete look.
- Paint walls and trim – Walls receive fresh coats of paint in your selected hue – often multiple finish coats. Wood trim and ceilings get color matched for a cohesive aesthetic.
- Install mirrors, art, bath accessories – Decorative elements like framed mirrors, gallery prints/canvases and coordinating ceramics make personal style statements.
- Thorough clean up – Your contractors remove all construction mess, debris and tools, taking extra care to wipe surfaces and vacuum.
With final inspections passed and payment complete, all that’s left to do is start enjoying your beautifully transformed new bathroom! Using a comprehensive renovation checklist ensures no crucial steps were missed during your project. Here’s to a stress-free process resulting in your dream bathroom. Cheers!

